So this is my first foray into using eva foam as a construction material. I learnt so much about how to work with eva foam and have documented my process below.
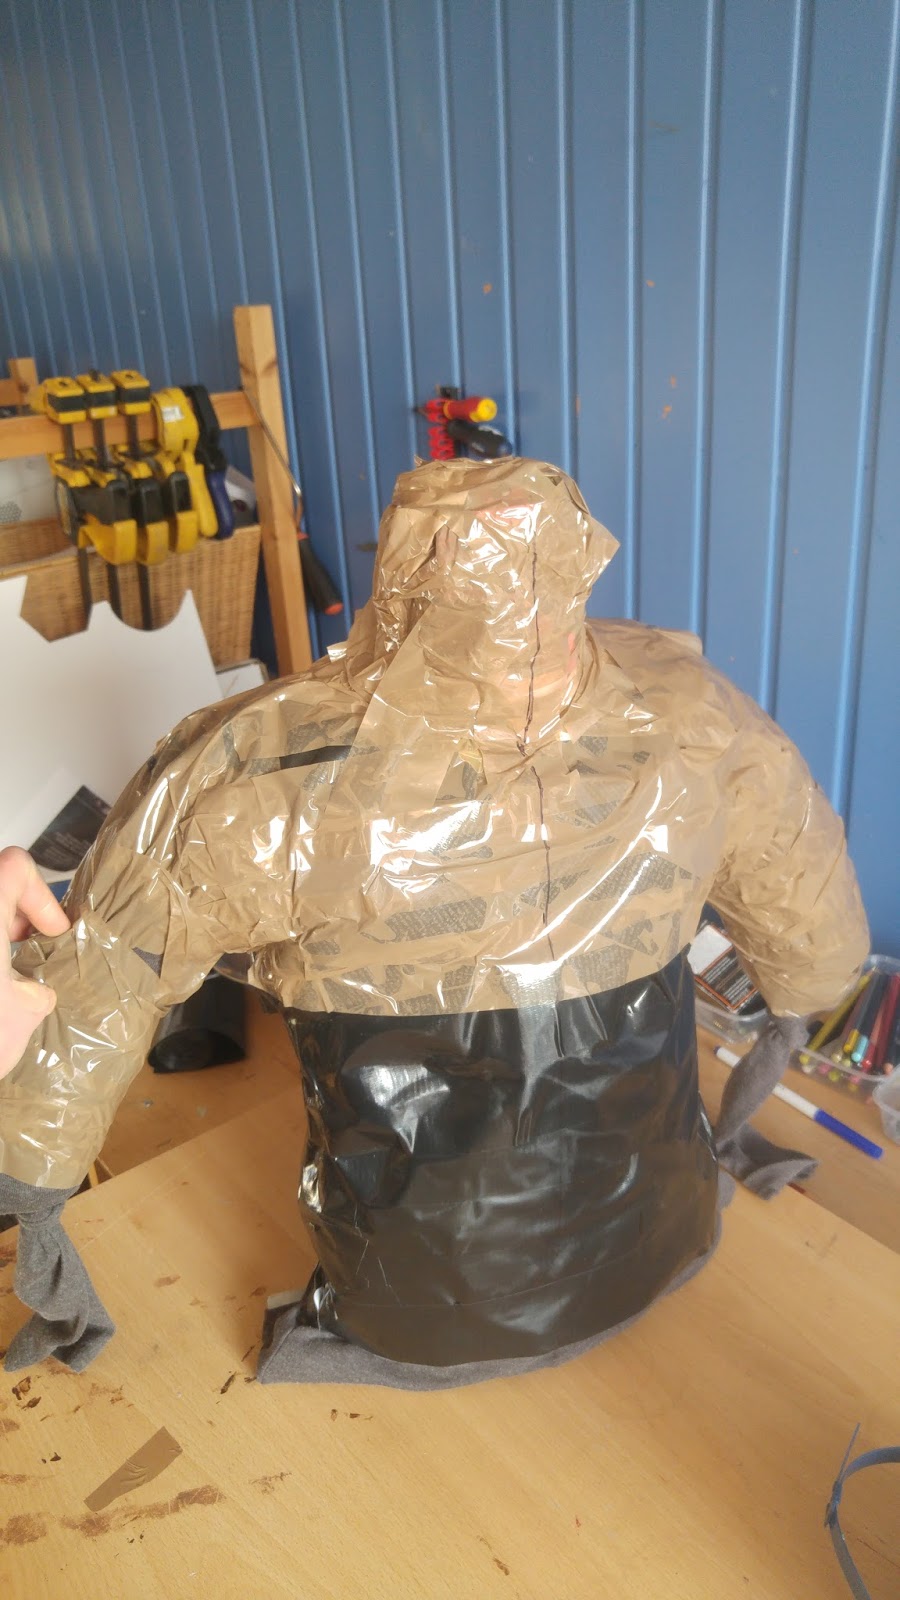
 I started out by making a dummy, the armour doesn't need to fit
anyone in particular so I made my dummy quite small so It would
minimise the amount of foam I would need to use for the armour.
I used an old T-shirt and stuffed it with newspaper, I then
covered this with gaffer tape to secure the shape
(I had to start using packing tape halfway though
as I ran out of gaffer)
I first used paper to design my pattern pieces, once I had the
correct shape I transferred the designs onto foam.
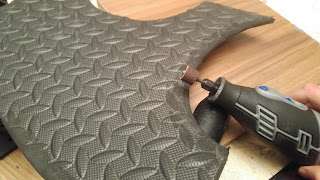
Once I had all my pieces cut out
I beveled all the edges with my
rotary tool and sandpaper. I then
went over all the edges with my
hairdryer to seal all the open
pores that had been created
during sanding.
I formed the pieces into shape with a hairdryer first, then stuck them together with contact cement.
After the pieces we stuck together I then went back with the hairdryer to form them into their final shape. I wanted to make the armour easy to get on and off so I cut the armour open at the back, I then attached velcro with thin sheets of eva foam to the inside of the armour.
I wanted the back and front of the armour to look like they have been attached together with metal strips and rivets. I used a hole punch to create the circular rivets from eva foam and also used 2mm eva foam to create the strips. These details were glued on with superglue gel. I also had to cover the seam at the back, I used the same technique as above, but only glued the strip to one side of
the armour so the two halves could still come apart.
I then sealed the foam with 3 coats of pva glue so the foam won’t absorb the paint. Once this had
dried I covered the foam with 4 coats of PlastiKote metallic spray paint. I then began to weather
the armour with acrylic paint.