I began by cutting my head and hand puppet patterns out of reticulated foam, I then dyed these with Rit Dye in a home-made dye bath (An upturned table with cellophane in the bottom to prevent leakage) I used about 1/4 of the bottle for all the pieces and left them to soak for about 10 min.
Tips on Dyeing foam:
1. Drop foam straight into dye, make sure there is no creasing as you will get terrible lines in the foam where the dye didn't take.
2. Soak foam in warm water first then transfer straight to dye bath. Once foam has soaked for ten minuets rinse foam under water until water runs clear, leave foam to dry overnight.
3. Make sure Dye bath and water are warm as this will improve colour of dye.
 |
| The left box is for warm water (To soak the foam) The upside down table will be filled with dye and the right tub is for carrying the foam to the sink for rinsing. |
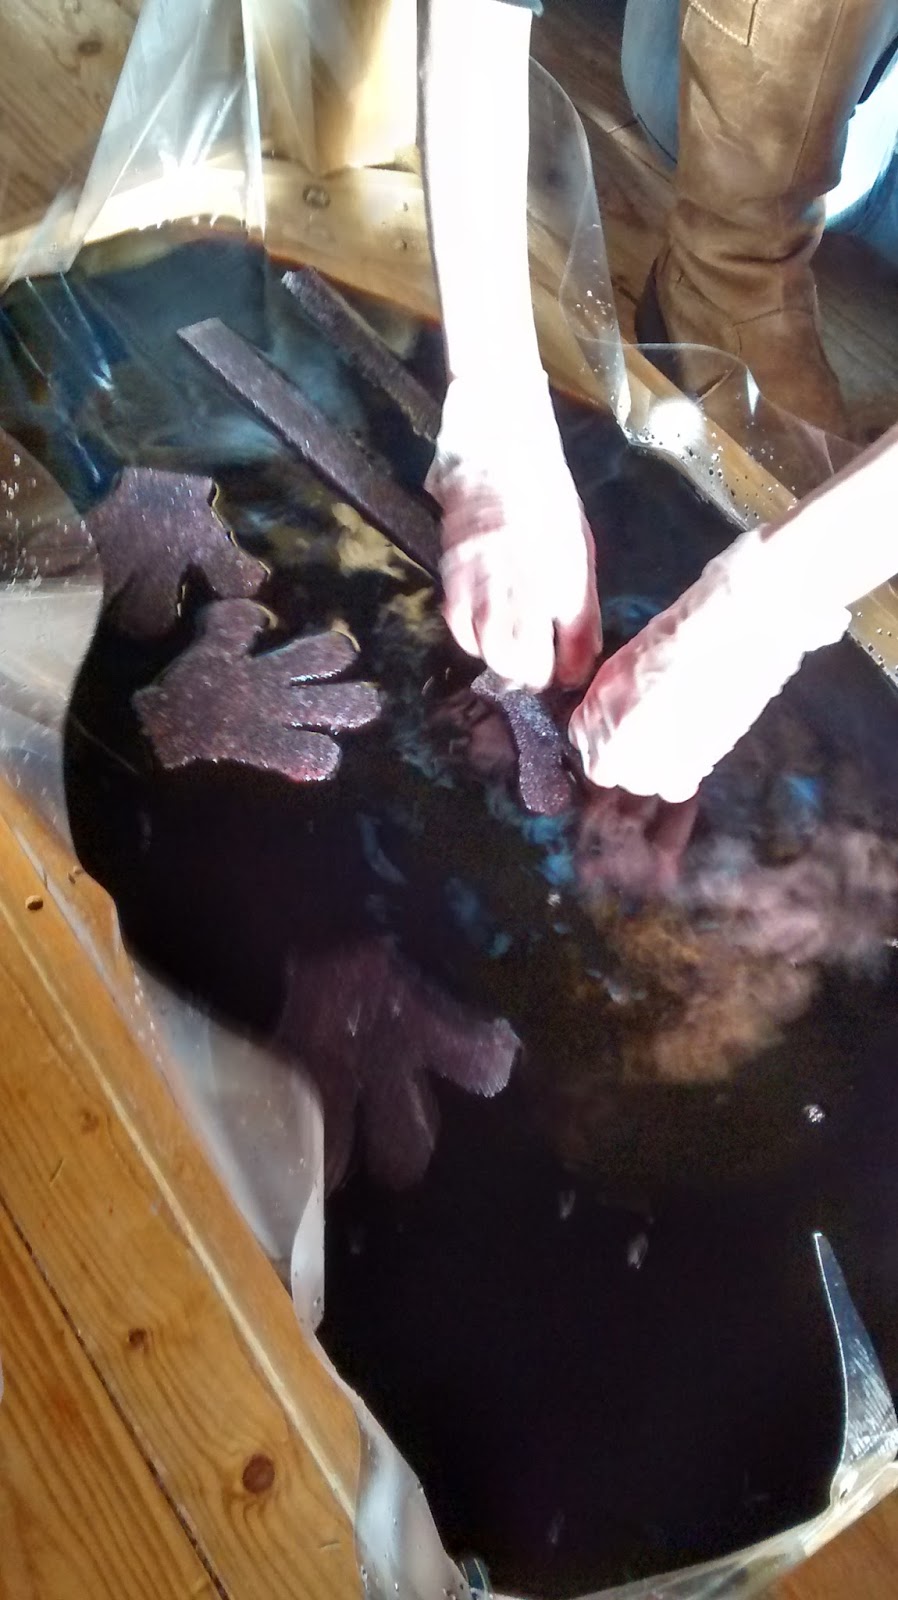 |
| Massaging foam ensure even coverage of dye. |
 |
| Allowing foam to dry. |
After the foam had dried I used hot to glue to assemble the head.
I decided that I wanted to cover the puppet with fur rather than using the foam as a skin texture. I began by making a fabric pattern for the head. I used scrap fabric to rough out the pattern then transferred it to paper then finally to the fur.
Scrap fabric Pattern Fur fabric pattern
I then sewed the two pattern pieces together using a whipstitch.
I then turned the pattern right side out and sewed the mouth plate in place.
I then made the puppet body. I used a sheet of reticulated foam and glued the ends together to create a cylinder, I then covered this in fur to match the head. For the arms I used strips of the fur material and sewed along the long edges to create a tube. I hot glued the arms to the body and stuffed them with polyester fiberfill. To create the elbows I sewed a straight line half way down the arm. I wanted the hands to be flexible so I glued florist wire to one half of the foam hand then sandwiched another on top.


.jpg)


